Transcript:
So, misprints are kind of the last piece of the puzzle for misprinted. We've got our damage layers in the bottom folder.
We've got that in a print effect group, and what I'm going to do is make another group. So, we've got a higher calculate like this.
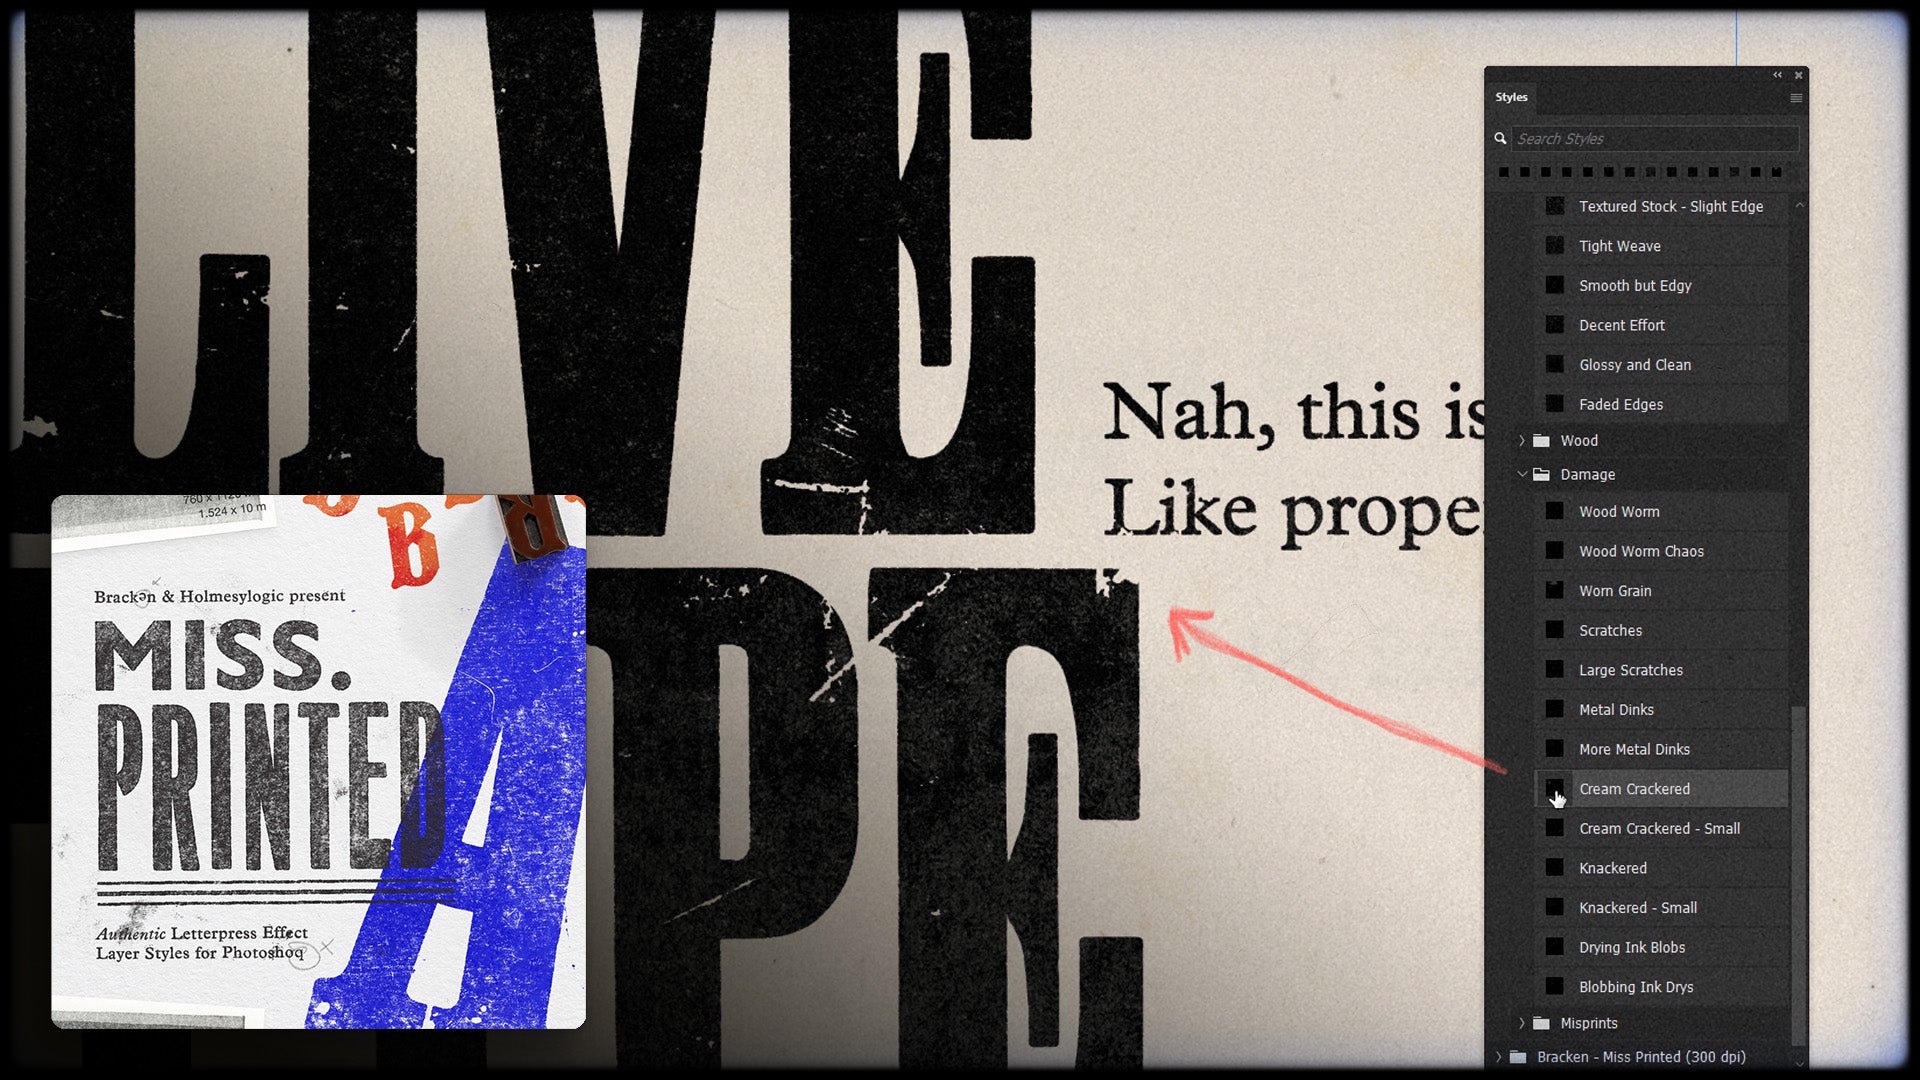
Got one, two, three groups. And in this top group, let's call this misprints, we go onto our layer styles, and in the misprinting group we'll just go to misprints, and have a click through.
And we'll see that this is adding lovely bits of details to the outside. We've got some like fingerprints, some mucky little bits of ink, in straight lines and smudges all sorts of lovely stuff.
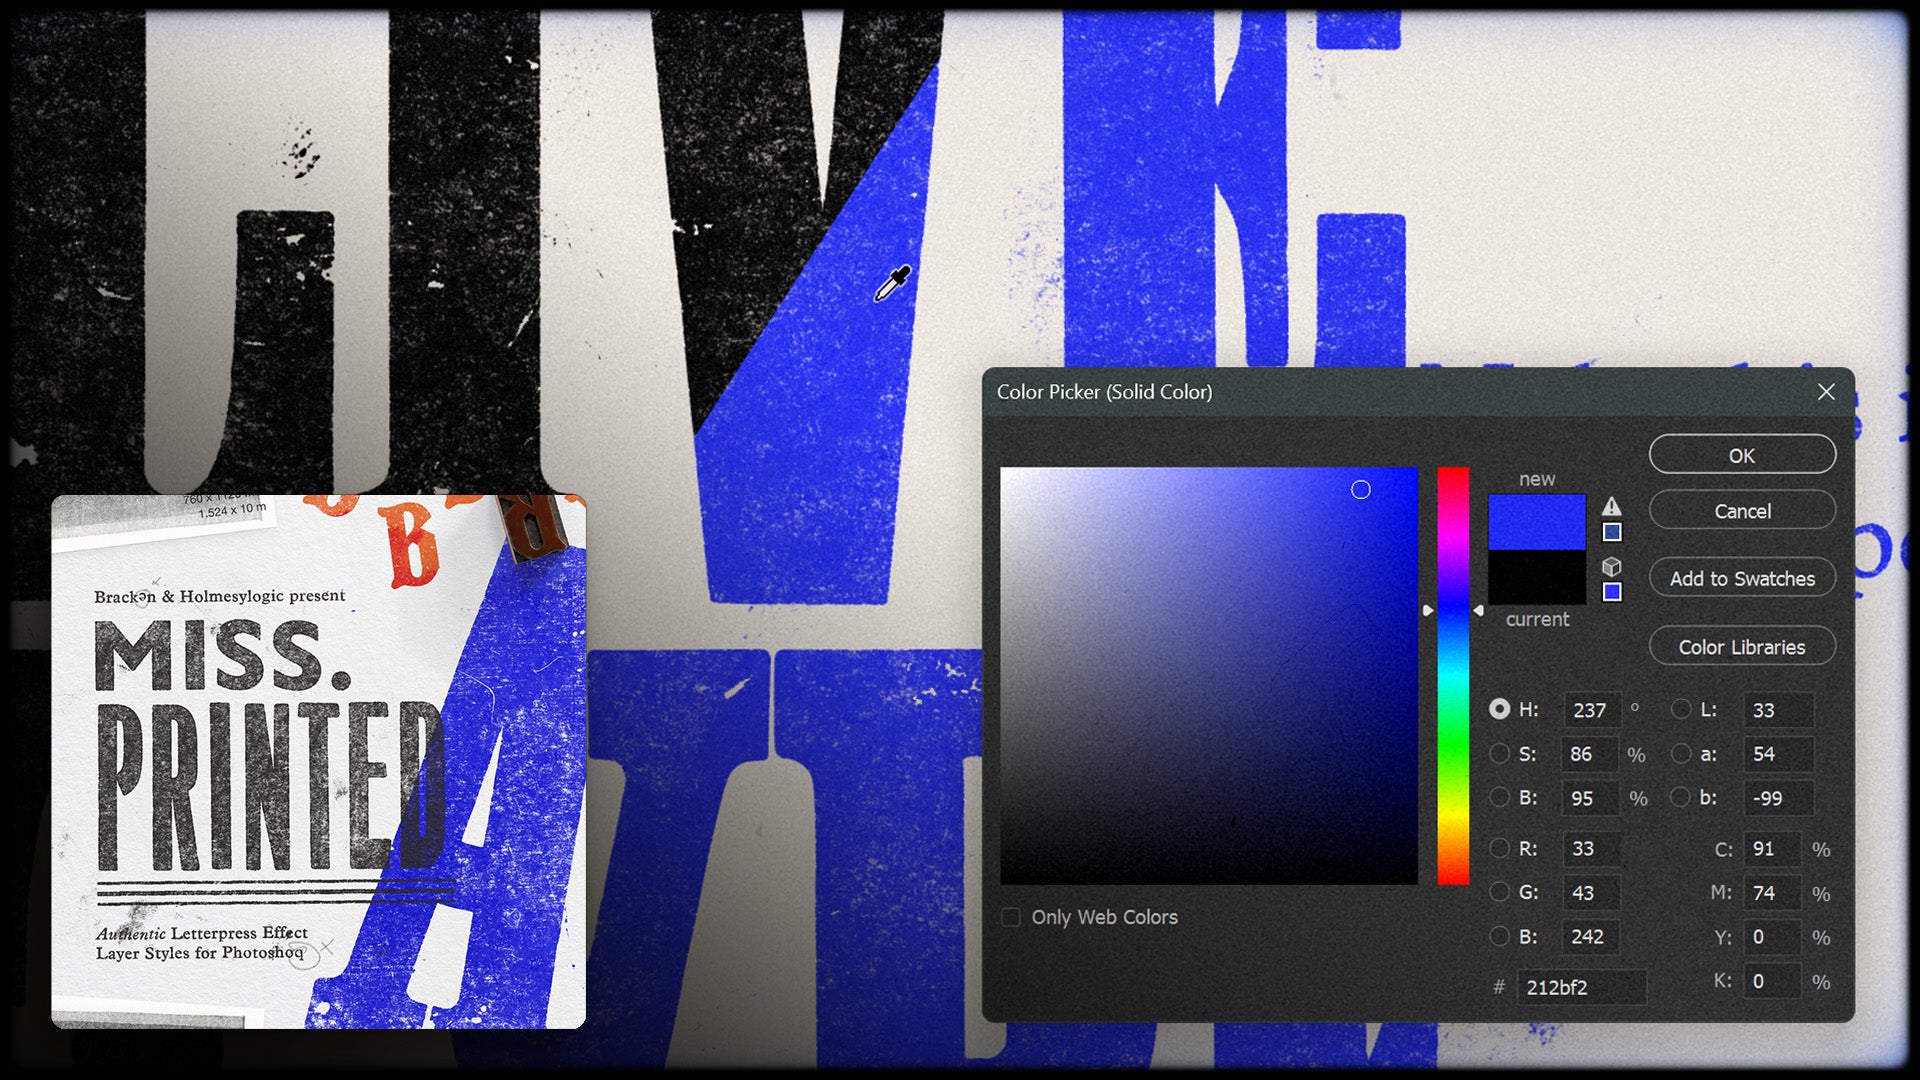
And what we can do with this is if we double-click on where it's a stroke, go into these and play with some of the settings.
This size will change how fast spread out the misprints are from the type and the scale of the texture will amazingly surprisingly change the scale of the texture.
So we can up that something like 50% and this is to your discretion, you know, do exactly what you want, but it's quite nice when you align the size of this, especially if you got stuff like fingerprints in you know just kind of taking to consideration how big a piece it is that you're making you know
If this is a A3 piece and that's a hell of a thumb print you know that's that's pretty big so we can just change a scale accordingly so however we want it and as long as we have this panel open then we can just click in the outboard and drag it around and move it around.
Absolutely lovely stuff and that gives you the completed look of a nice, grubby, gnarly, a lot of press print. and deli-ish-os.


